

Kym Eaton
Posted on 3rd July 2023
Triniteq’s PowerEPOS software has the ability to create a user profile for each of your team members. This critical feature allows you to track user changes in the system, delivering transparency, security, and staff accountability on every single task and transaction while capturing important information on how the system is being used.
User profiles also feed into reporting, providing important information on your best sellers, staff who might need further training or even helping to catch issues early, before they become a problem.
In this guide, you will learn how to set up new users and configure settings to control how staff use the system.
Learning Areas
Add a New User & Configure Settings
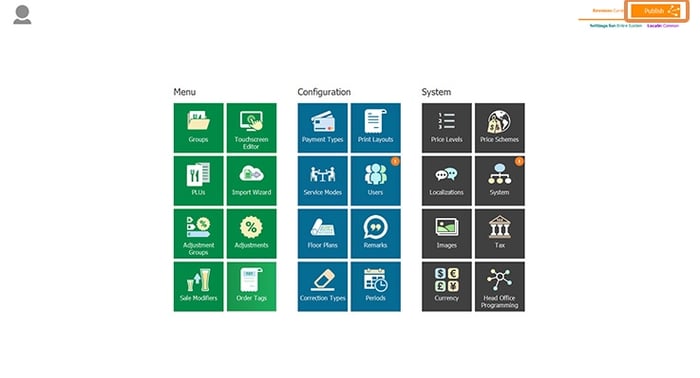
1. From the PowerEPOS Management Console select Users which will open the Users Module.
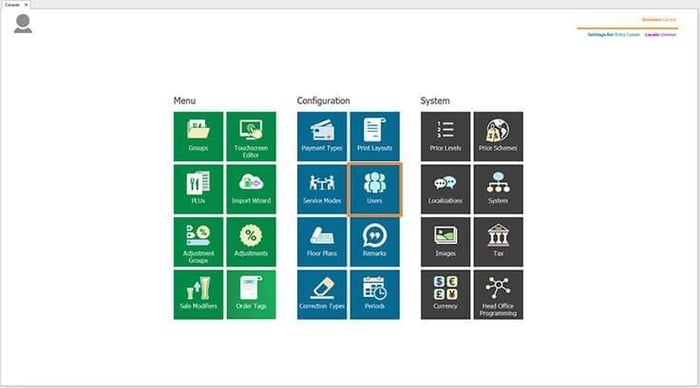
2. Once in the Users Module, we select New from the centre Control Panel to open the New User Configuration window.

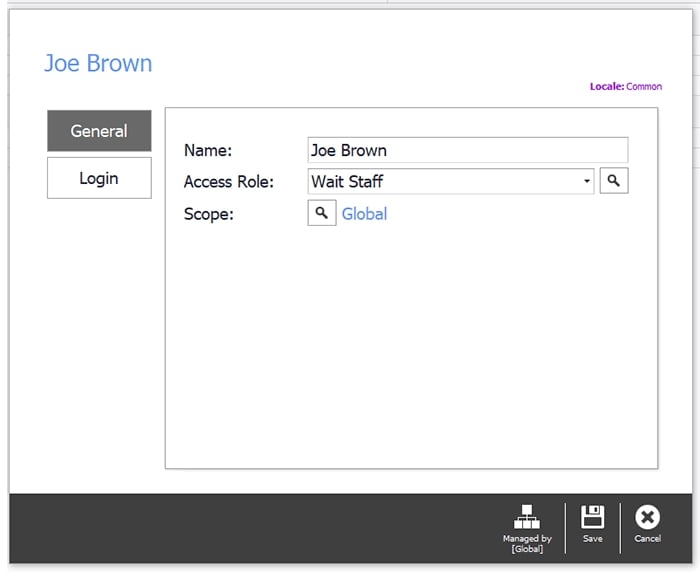
3. Next, we add our User's name and select their Access Role. For our business, we are adding our new staff member Joe Brown who is a Wait Person so we select Wait Staff from the Access Role drop-down list. Then we click on the Scope search icon.
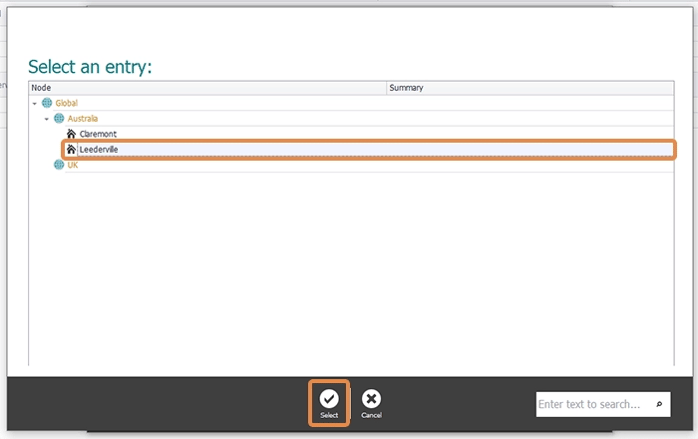
4. The Scope defines which regions and outlets our new User will be assigned to. Our new staff member Joe Brown will be working at our Leederville outlet so we select Leederville and then Select to save this setting.
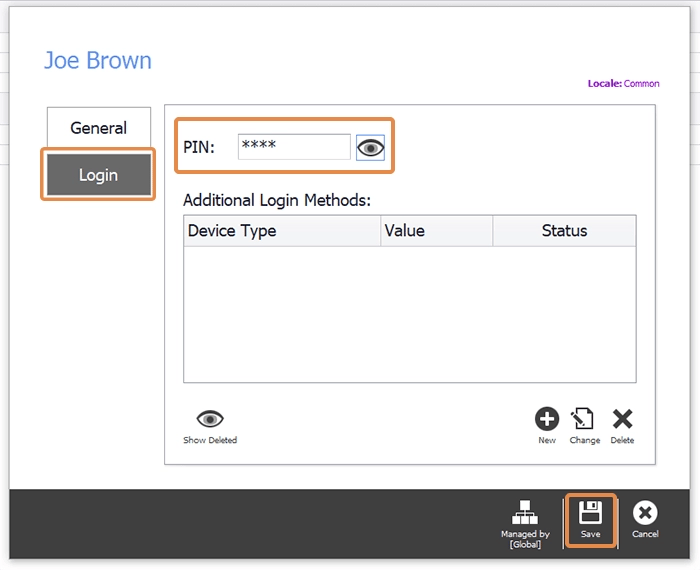
5. Next, select the Login button to configure the User Login Method. Here we will set the PIn the user will use to log in to the Point of Sale terminal or device. PIN numbers can be made up of up to 8 numbers. Once we have added the User's PIN we hit save to save these settings.
Please note: Here, we could also set additional login methods such as using an RFID card or fob. For more information on additional login methods please contact Triniteq Support .
6. Back in the Users Module, we select Close to close the module bringing us back to the Management Console ready to Publish our new settings to the Point of Sale.

Edit Users
There are multiple ways to open the User Configuration window to edit a User Profile from the Users Module.
1. Double click on the User Profile.
2. Left-click on the User Profile and select Change from options.
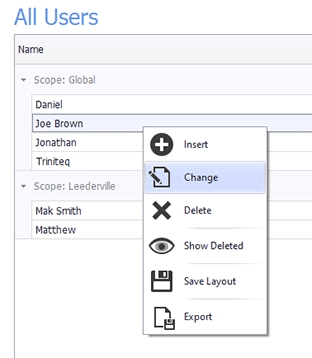
3. Select the profile then Change from the Control Panel.

Publish User Settings to the Point of Sale
1. Back in the Management Console, we can see new settings ready to publish by the orange notifications on the Users and System tiles. So we click the Publish button top right of the screen.
2. Then we check the changes and outlets we are publishing to, making sure to deselect any changes that we are not ready to publish and outlets we do not want to publish to.
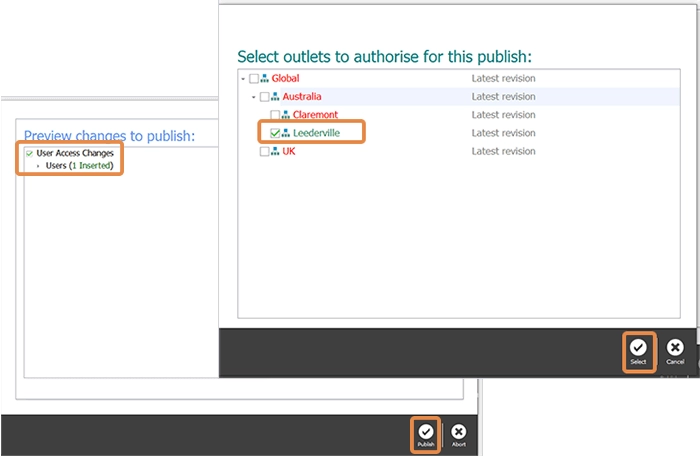
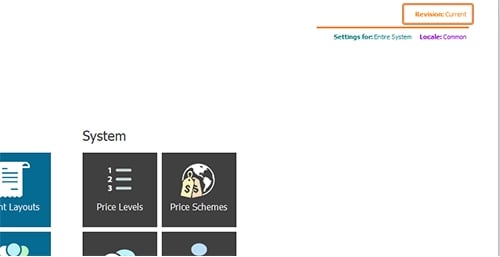
3. Once our changes are published, we receive the complete message with a revision number which we can use to manage revisions in the Revision Management Tool accessible top right of the screen, replacing the Publish button.

Download the Creating New Users PDF Guide
Still got questions?
Just submit them to us at Triniteq Support or call us on 1300 784 276.